Using Rows
Last updated: September 2, 2026
Rows are spaces to put your content blocks and an excellent way to ensure your content is well spaced and fits nicely on the screen. It is recommended that you put all content into a row but certainly not required to make a great website.
Adding a Row:
You must add a row within a section first
Click here to read about 📄 Using Sections
Click Add Block
Search for Row > Click Row
You will now see a row on your screen with layout options on the ride side
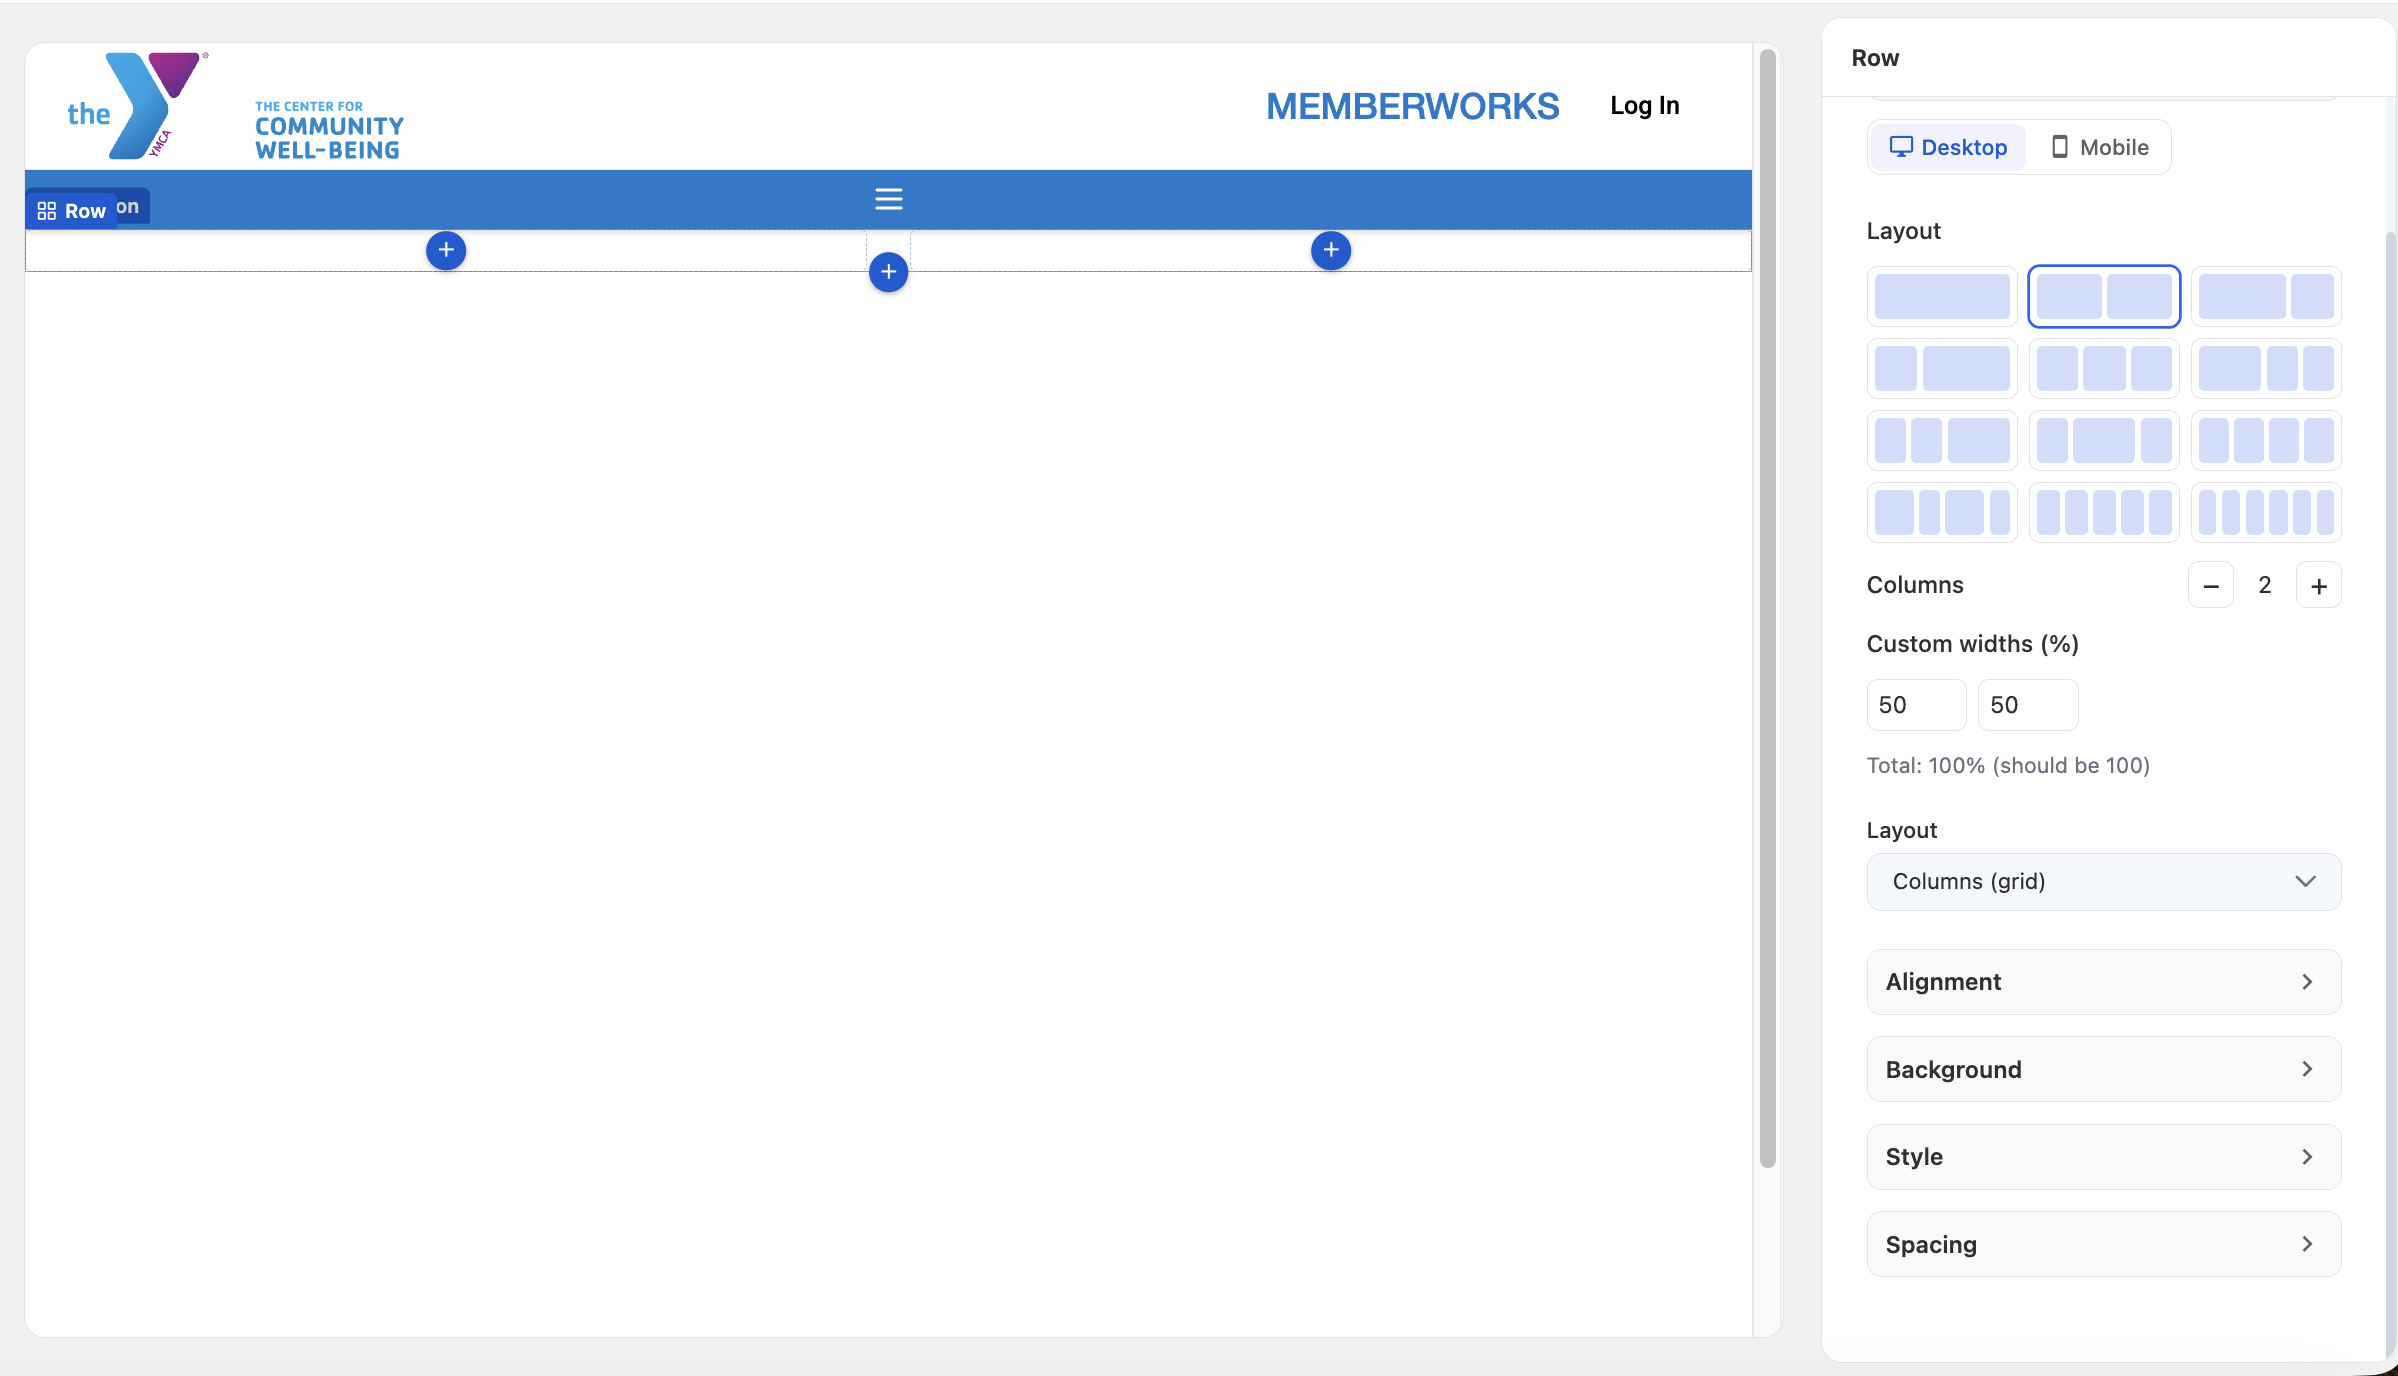
The layout options include:
Columns: how many columns you want included in your row
Layout
Alignment: determines how the content within the row is aligned
Background: allows you to choose a color background of your row
Style: add a corner radius on your row to give a more rounded effect
Spacing: add padding and margin to your row based on desired spacing on the screen
Adding content to your Row
You can either click Add block on the left rail or click directly on the + button on the screen
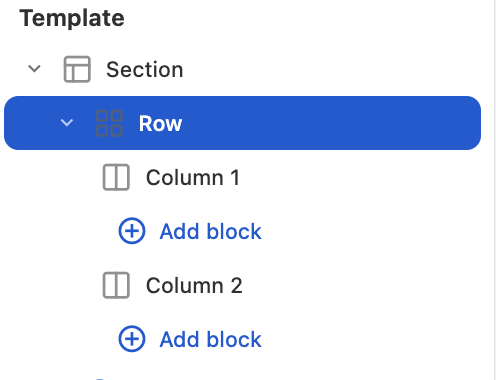
Choose a Content Block for your row
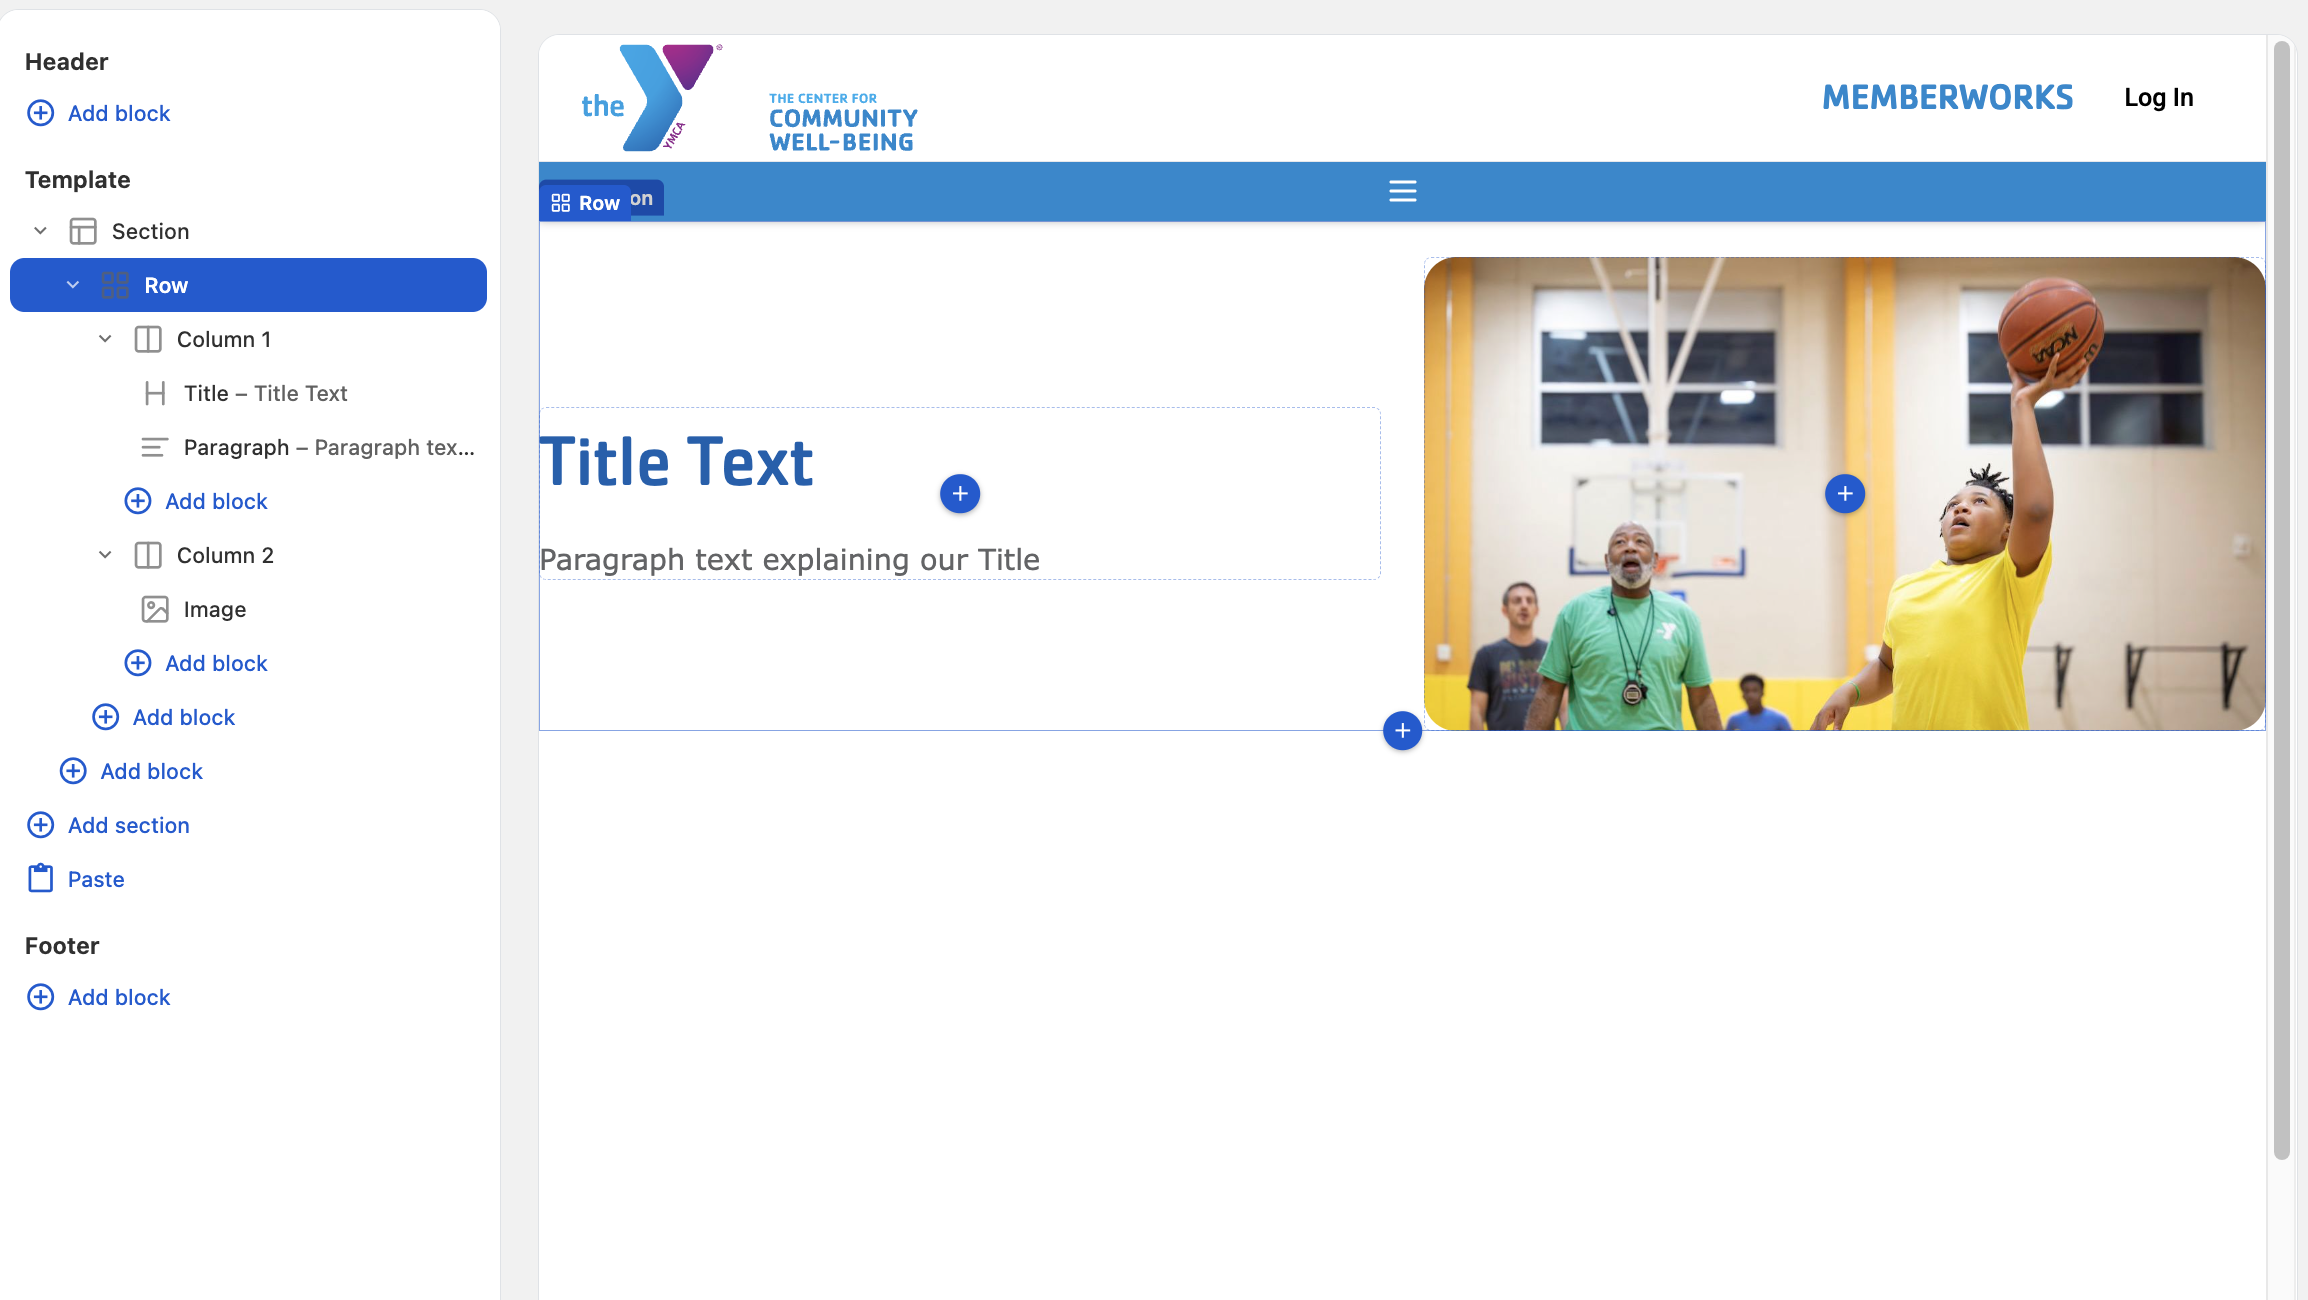
For this example we will put a Title and Paragraph in Column 1 and an Image in Column 2
We will center our content using the Alignment feature
Add rounded corners on the image using the Style feature on the Image
Add padding to the top for space between the header and our row using the Spacing feature
Our result:
Whats Next?
Adding other Content Blocks